Step into My Improved Studio - Where the Creations Happen - Year 2022

In the MONOLISA Studio with California Artist Lisa Ramos
One of my favorite places to be is in my home studio in Clayton, California. I love the space, because everything feels peaceful and the natural light is so comforting. It is just me, the machines, tools and all the materials - it's where I create handmade bags and sculpted jewelry pieces. Since launching MONOLISA in 2017, my studio has changed significantly and I continue making improvements. The creative process is a journey, along with my modifying my studio. In my first article Step into My Studio - Where the Creations Happen Part 1 I gave readers a glimpse into creative space, my studio. This summer I did some big changes I am excited to share - I could not have made without all of the MONOLISA customers, thank you! So, lets take a look...
Sneak Peek Video of the MONOLISA Studio.
Why Change My Studio?
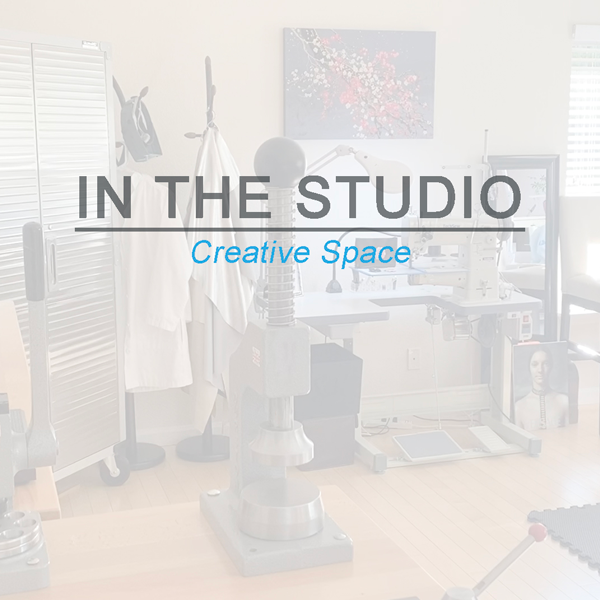
A couple years back my friend, Concetta came to my new home for the first time. She said, oh my gosh your place is so clean. Does anyone live here? We both laughed at her statement. Anyone who really knows me understands my tidiness and it dates back to my childhood. Some call me a neat freak, which I gladly accept and greatly honor. For me, my living and working space requires organization and efficiency. Having a clean and organized space helps me focus - I distract easily. My new upgraded studio is broken down into work stations to allow efficiency when changing tasks. The stations include a computer area, assembly area, jewelers bench with quick access to my tools, large cutting area, industrial sewing machines, a long rolling cabinet and hammering area.

Desk Area
Desk Area
My desk area is where I do all the MONOLISA digital work - website tasks, social media, photo and video editing. I also use this space for answering emails, bookkeeping, ordering raw materials, researching and my continuing education.

Jewelers Bench and Assembly Table.
Assembly Table

Assembly Table with Adjustable Lamp and Aylio Seat Cushion.
Alleviating body stress and developing more comfortable creative spaces in my studio is a work in progress. I added a few more Aylio orthopedic foam coccyx cushions on my chairs to alleviate lower back pain and arthritis in my hips.

Jewelers Bench with My New Dust Collector.
Jewelers Bench Area
As I have stated in previous blog posts, it is all about the equipment - it really is for me. I have been working at a desk for over 30 years. After changing careers in my forties, becoming a designer came with pre-existing body wear and tear - arthritic hips, lower back pain, blurry eyes and neck pain. Working around my body aches is an ongoing daily challenge for me. At the jewelers bench I am doing a multitude of tasks - sawing, drilling, shaping, sanding, hammering and carefully setting stones. I love sitting at my bench and creating, but my body often pays the price for it.

Microscope and Slide & Lock Original Bench Tool-Holding System.
This year I had to figure out ways to minimize my body aches and pain. I setup a GRS® slide and lock original bench tool-holding system. It has been a great addition to my studio. The system is ideal for my work environment, allowing me to easily raise or lower my benchwork - resulting in positioning my work at the appropriate height. The system has attachable accessories options, ultimately giving me more ergonomic choices - a sawing plate, bench pin, fishmouth chamber and standard block shelf to name a few. The sawing plate allows me to easily saw metal pieces with my righthand at the appropriate eye and hand position - alleviating awkward positions and being more naturally relaxed. My neck already feels better!

Foredom® MADCH-6 Fishmouth Dust Collection Accessory.
I hate dust and there is a ton of it when creating jewelry pieces. Being a jeweler is a dirty job, literally. To reduce the dust in my studio and protect my lungs I setup a Foredom® Dust Collector. The machine collects dust effectively during my messy tasks of polishing, sanding, and grinding metal. It pre-filters ninety nine percent of debris. It sits nicely on the floor next to my bench and doesn't take up too much room. The dust collecting system does an awesome job keeping the dust away and my studio cleaner.
 Industrial Sewing Machines and Cutting Area - Plus New Cushioned Floor Pads.
Industrial Sewing Machines & Large Cutting Area

Seville Rolling Cart and Cabinets
Rolling Cabinet Area and Work Station


Soldering Station with Ventilation
Improved Soldering Station
Before I get back to the studio, I wanted to show you my work in progress soldering station - a separate area from my studio with good ventilation. I have made some recent changes to the soldering station that include a rolling cart with new equipment, GRS® slide and lock system with accessories, a rolling chair and replaced my Flex Shaft with a micromotor making my hands more comfortable while creating jewelry pieces. I had new cabinets and a durable counter space installed - perfect location for the pickle pots and loud tumbler. The soldering area is now more work efficient and ergonomically friendly. Well, that is all for now. I better get back to the studio....until next time.
"I fell in love with the creative process because of the unlimited possibilities."

Other Articles about My Art Journey
Evolution of Design - Part 1
Evolution of Design - Part 2


Leave a comment