A Day In the Life of an Entrepreneur Part 2 - Making a Leather Bag

A Day in the Life of an Entrepreneur — Part 2
In Part 1 of this blog I took readers through the experience and schedule of doing an outdoor August show in Silicon Valley. In this post I explain what a day in the life of a handbag designer looks like during the design to production process of hand making Italian leather bags — totes and crossbody bags.
During this process, keep in mind prior to production I am responsible for all product sourcing — leather, hardware, crystals and other materials. I also create all the patterns and personally make each bag with a dustbag — this type of trade is called an artisan — a skilled trade that makes things by hand.
Production Schedule
6:20 am: It’s a Monday morning in February and I am laying in bed thinking about handbag production. In my head, I am going through the steps of the bag production and what I want to accomplish today. Yesterday, I spent the day getting the patterns together — cutting new patterns, laying the pieces on the hide various ways, saving me a tremendous amount of time today.

Since I create in two mediums — leather bags and metal jewelry — I have to adapt to that specific skill set during the product development process. For instance, I work on bag production for two months and then switch to jewelry for the following few months. Since I am not doing the same medium every day I rely on my notes and require being adaptive.
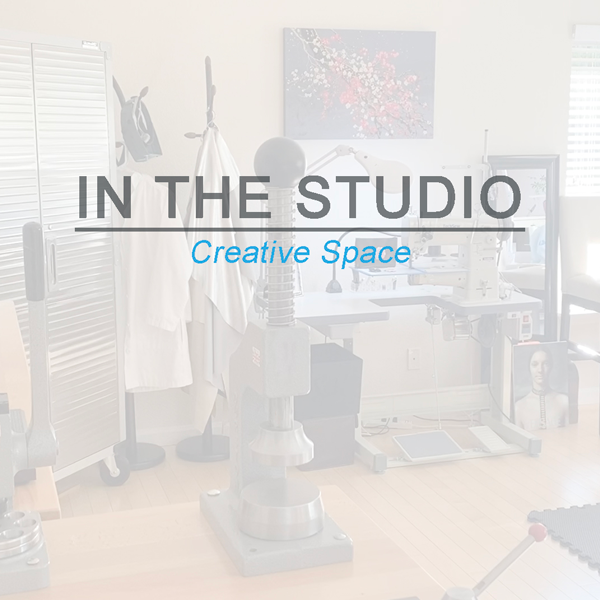
7:05 am: I grab a tall cup of coffee and run upstairs to my studio. While sipping coffee I read emails, update a few pages on the MONOLISA website and review last years notes on handbag production. Taking notes during and after production always helps improve the process next time around. Each production process is slightly different and can come with its own set of challenges — machine breaking, a stitch messing up in the middle of sewing (which you can't fix), the needle locking up while sewing, machine oil drips on the leather, an unforgiving glue accident or I simply make a mistake — I have to live with :-)
8:40 am: Now that the coffee has kicked in I am ready to start working with this gorgeous black Italian leather. I wash my hands and make sure my coffee is no where near the leather. When working with leather it's important to avoid greasy hands (no lotions) or spilt liquids on the leather. It can easily happen. During parts of the production I wear clean white gloves to ensure I don't scuff up the leather with my nails. To avoid damaged stored leather I wrap tissue paper around it — protecting it from metal particles and sun damage. I inspect the front and backside of the leather hide to make sure everything looks good — no damage. I lay out one leather hide on the carpet so nothing can scratch it and place each pattern pieces on top.

Every time I work with a hide the patterns can slightly change. I am a stickler for using as much of the hide as possible. For instance, the body of a MONOLISA tote bag is designed with a single piece of leather so if last years pattern was 15” x 5" (leather body of the bag) this year it may vary — 17" x 5". Every hide is different, no two are alike. Some are fifty-five square feet while others are twenty-five square feet. All leather hides have natural imperfections and that’s what makes them so unique.
9:55 am: I start prepping the work stations prior to production ensuring they are totally clean — cutting area, tables for pattern pieces to lay on and a drying station. The work stations with the pattern pieces are lined with tissue paper to ensure they stay clean at all times. Lots of my work station tables and tool shelves are on wheels, which I love. That gives me a tremendous amount of flexibility to roll things around and store away.

10:15 am: Now it is time to cut the leather. I triple check everything, because once I cut, that is it. No going back. With this particular project I was a bit nervous, because the leather is now a limited edition. If I make a mistake I can't order another hide. So, I was feeling the pressure. I love working with this particular vegetable tanned leather. It has a classical high shine top finish, firm temper from vegetable tanning, making it simply beautiful. Vegetable tanned leather is expensive, because it requires more skill set and knowledge during the tanning process. Unfortunately, this leather — one of my favorites — is discontinued. My leather source said it is expensive to tan and the market demands for lower priced leathers.
11:10 pm: The raw cutting is done (cutting around the edge of patterns with a little room) and now I need to precisely hand cut each pattern design piece (with a knife or rotary cutter). During this process I stay focused with each cut to make sure I utilize as much leather as possible. After the final cuts of each pattern, I document the measurements and add them to my production notes.
1:20 pm: All the patterns are hand cut and ready for the next steps. I take the handbag handles, long straps, base bottoms and strap holder patterns and prep for gluing. Next, choose the hardware and crystals for each bag design.
2:00 pm: I grab a quick bite to eat....avocado toast... not toasted.
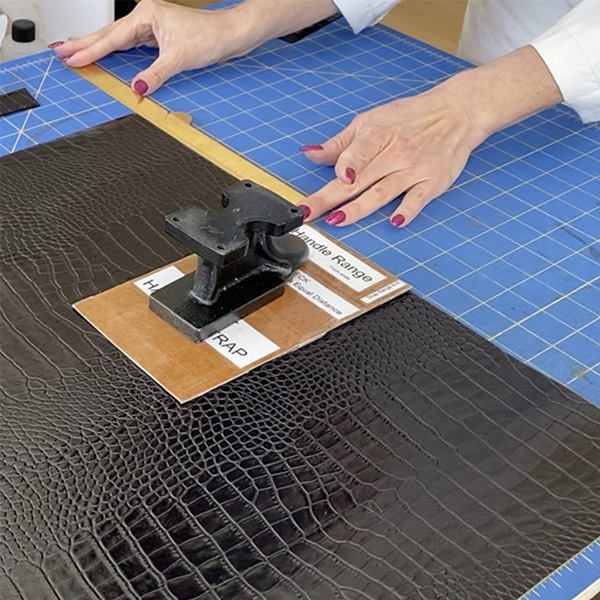
2:15 pm – 4:50 pm: Glue time. Open the windows, bring out the fans and get ready for gluing...it is a sticky job! During this process I focus on gluing the tote bag handles, handle holders and the straps for the crossbody bags along with the bag base bottoms. Before sewing the pieces I have to glue them together and allow to dry overnight. I can't just smack on some glue and piece the patterns together. I carefully put the glue on each pattern piece, let it cure for about 15–20 minutes and then glue the pieces together. The curing time varies and is dependent on the room temperature — warm dries faster and cooler takes longer. I use a timer during this process. I also have to be very careful about getting glue on the front-side of the leather. Some leathers are less forgiving than others if glue accidentally adheres in the wrong place. During the curing time I usually get a little website work done.
4:50 pm: I setup various fans to lightly blow air on the glued pattern pieces.
5:00 pm: Shower time and then make dinner. Pasta with shrimp and a salad sounds perfect.
8:00 pm: Turn off the fans and shut the windows. Get into bed and finish reading my novel — The Best Friend by one of my favorite authors — Shalini Boland.
The next 7 plus days: I will be sewing the handbags, creating the decretive pieces — fringe design and the crystal closures, sewing each dust bag, taking pictures of the products and posting them on the internet. Then I will repeat that process and work with the other color brown hide. I am hoping all the industrial machines stay strong and I don't run into any surprises such as a machine breaking down or the leather gets stuck in the machine. I don't like surprises. Tomorrow is a new day.


Leave a comment